Oreo Cookie Bars
Jump to Recipe
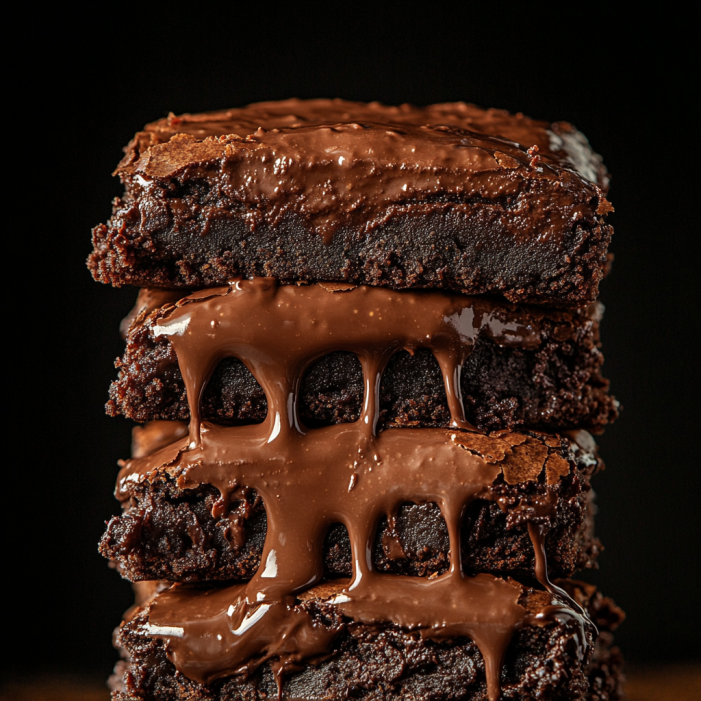
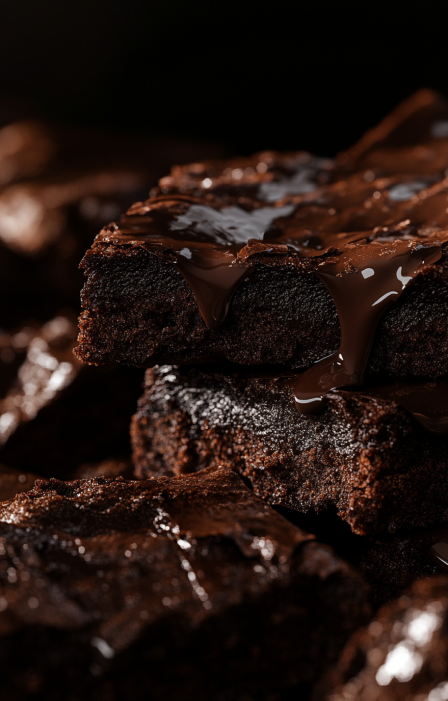
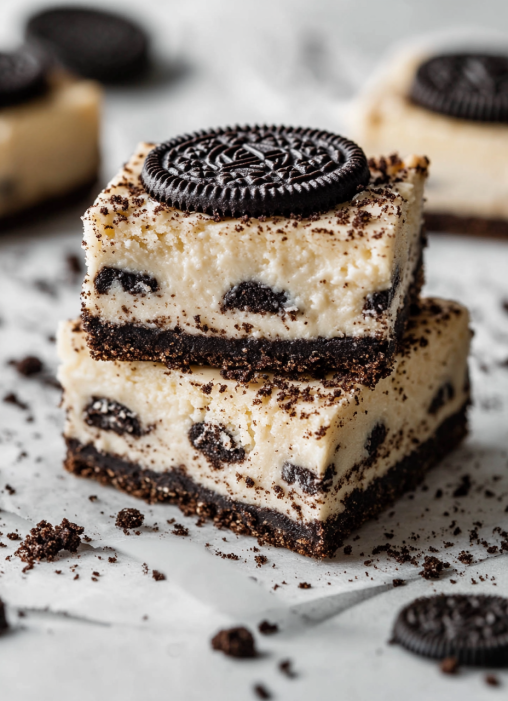
Get ready to indulge in these Oreo Cookie Bars—a chewy, chocolatey dessert that combines the iconic flavor of Oreos with the delightful texture of cookie bars. Perfect for any occasion, these bars are simple to whip up and can be customized to suit your taste. Trust me, once you try them, you’ll want to make them again and again!
Why You’ll Love These Bars
These Oreo Cookie Bars are the ultimate treat for Oreo lovers! With a soft, chewy center and a slightly crisp edge, they strike the perfect balance between texture and flavor. They’re not just delicious; they’re also incredibly versatile, allowing you to add your favorite mix-ins or toppings for a personal touch!
Ingredients
Here’s what you’ll need to make these scrumptious bars:
- 2¼ cups all-purpose flour – The foundation for our bars.
- ½ teaspoon salt – To enhance the sweetness.
- 1 teaspoon baking soda – For that perfect rise.
- 1 teaspoon cornstarch – Helps achieve a soft texture.
- 2 sticks unsalted butter, room temperature – Adds richness.
- ¼ cup light brown sugar – For a hint of caramel flavor.
- ¾ cup granulated sugar – Sweetness overload!
- 2 eggs – For binding and moisture.
- 2 teaspoons vanilla extract – A classic flavor enhancer.
- 12 Oreo cookies, broken into pieces – The star ingredient!
Directions
Step 1: Preheat and Prep
Preheat your oven to 375°F (190°C). Line a 9×13-inch baking pan with aluminum foil and spray it with non-stick spray. This will make it super easy to lift out the bars once they’re baked.
Step 2: Mix Dry Ingredients
In a medium bowl, whisk together the flour, salt, baking soda, and cornstarch. Set this mixture aside while you work on the wet ingredients.
Step 3: Cream the Butter and Sugars
In a stand mixer fitted with the paddle attachment, beat the softened butter with both sugars until the mixture is light and fluffy—about 3 minutes. This step is key for that melt-in-your-mouth texture!
Step 4: Add Eggs and Vanilla
Add the eggs one at a time, mixing well after each addition. Then, stir in the vanilla extract, scraping down the sides of the bowl as needed.
Step 5: Combine Wet and Dry
Gradually add the dry ingredient mixture to the wet ingredients, mixing on low speed until just combined. Be careful not to overmix; we want those bars to be soft and chewy!
Step 6: Fold in the Oreos
Gently fold in the broken Oreo pieces, making sure they’re evenly distributed throughout the dough.
Step 7: Bake
Press the dough evenly into the prepared pan. Bake for 25-30 minutes, depending on how gooey you like your bars. Shorter time for a gooey center, longer for a firmer texture.
Step 8: Cool and Cut
Let the bars cool completely in the pan before lifting them out using the foil. Cut into squares and get ready to enjoy!

Nutritional Information (Per Bar)
- Calories: 350 kcal
- Fat: 20 g
- Carbohydrates: 40 g
- Protein: 3 g
- Sugar: 25 g
Texture and Consistency
The ideal Oreo Cookie Bars feature a soft, chewy center with slightly crisp edges. To achieve this, mix the dough just until combined and consider chilling it for 15-20 minutes before baking to prevent spreading.
Flavor Profile
These bars offer a delightful mix of sweet and chocolatey flavors, thanks to the crushed Oreos. For an extra depth of flavor, try adding white chocolate chips or a sprinkle of cocoa powder. Combining brown and granulated sugars also helps create that perfect balance of sweetness.
Variations and Add-ins
The beauty of Oreo Cookie Bars lies in their versatility! Feel free to mix things up by adding M&M’s, sprinkles, or chopped nuts for extra texture and color. For a festive flair, incorporate seasonal candies or colorful sprinkles.
Alternative Oreo Flavors
Don’t hesitate to experiment with different Oreo flavors for a unique twist! Try mint, peanut butter, golden, or red velvet Oreos to keep things fresh and exciting.
Serving Suggestions
While these bars are fantastic on their own, you can elevate them even further! Drizzle melted white or dark chocolate over the cooled bars for a decadent touch. Pair with a scoop of vanilla ice cream or a dollop of whipped cream for an indulgent dessert experience.
Storage and Shelf Life
To keep your Oreo Cookie Bars fresh, store them in an airtight container at room temperature for up to five days. If you want to enjoy them later, freeze individual bars wrapped in foil and placed in a freezer-safe container. Thaw at room temperature for an hour when you’re ready to indulge!
Baking Tips
For the best results, line your baking pan with parchment paper or foil for easy removal. Avoid overbaking; the bars should be set around the edges but slightly underbaked in the center, as they will continue to cook while cooling. Let them cool completely before cutting to ensure clean slices.
Occasions and Celebrations
Oreo Cookie Bars are perfect for any event, from casual get-togethers to special celebrations. Customize the add-ins and decorations to fit any theme, making them a versatile and crowd-pleasing dessert!
Pairing with Beverages
These bars pair beautifully with a variety of drinks. A classic glass of cold milk is a must, while coffee or hot chocolate enhances the chocolatey flavor. For something more sophisticated, consider serving them with a dessert wine or liqueur.
Gift Ideas
Thanks to their portability and shelf stability, Oreo Cookie Bars make excellent homemade gifts! Package them in decorative boxes or tins for a thoughtful present that’s sure to delight friends, family, or colleagues.
Incorporating into Other Desserts
Get creative! Crumble these bars to use as a crust for cheesecakes or layer them into trifles for added texture and flavor. Their versatility makes them a fantastic addition to many desserts.
Dietary Modifications
If you have dietary restrictions, it’s easy to adapt these bars. Use gluten-free flour and certified gluten-free Oreos for a gluten-friendly version. You can also swap in dairy-free butter and chocolate chips for a vegan-friendly treat!
Cultural and Regional Twists
Add a personal touch by incorporating regional ingredients. Local nuts, spices, or dried fruits can infuse the bars with unique flavors, making them stand out and reflect your heritage.
Educational and Family Activities
Baking Oreo Cookie Bars is a fun, educational activity for families and classrooms! It’s a great way to teach kids basic baking skills while encouraging creativity. Let them help with mixing, measuring, and decorating for a hands-on learning experience.
Economic Considerations
These bars are an affordable treat to make, especially compared to buying specialty desserts. Using pantry staples and buying ingredients in bulk can keep costs low, making them an economical choice for large gatherings.
Environmental Impact
To reduce your environmental footprint, consider sourcing ingredients responsibly and using eco-friendly packaging materials for gifting or storage. Small changes can make a big difference in promoting sustainability.
Presentation and Plating
Make your dessert shine! Cut the bars into neat squares and arrange them on a platter. Add garnishes like mint leaves, a dusting of powdered sugar, or a drizzle of chocolate to enhance their visual appeal.
Conclusion
Oreo Cookie Bars are more than just a dessert; they’re a versatile and customizable treat that everyone will love. With easy preparation, diverse flavor options, and endless decoration possibilities, they’re the go-to dessert for any occasion. Whether you’re making them for a party, gifting them to a friend, or simply enjoying a sweet snack, these bars deliver on flavor, texture, and fun! 🍪✨