Heavenly Honey Butter Nun’s Puffs
Jump to Recipe
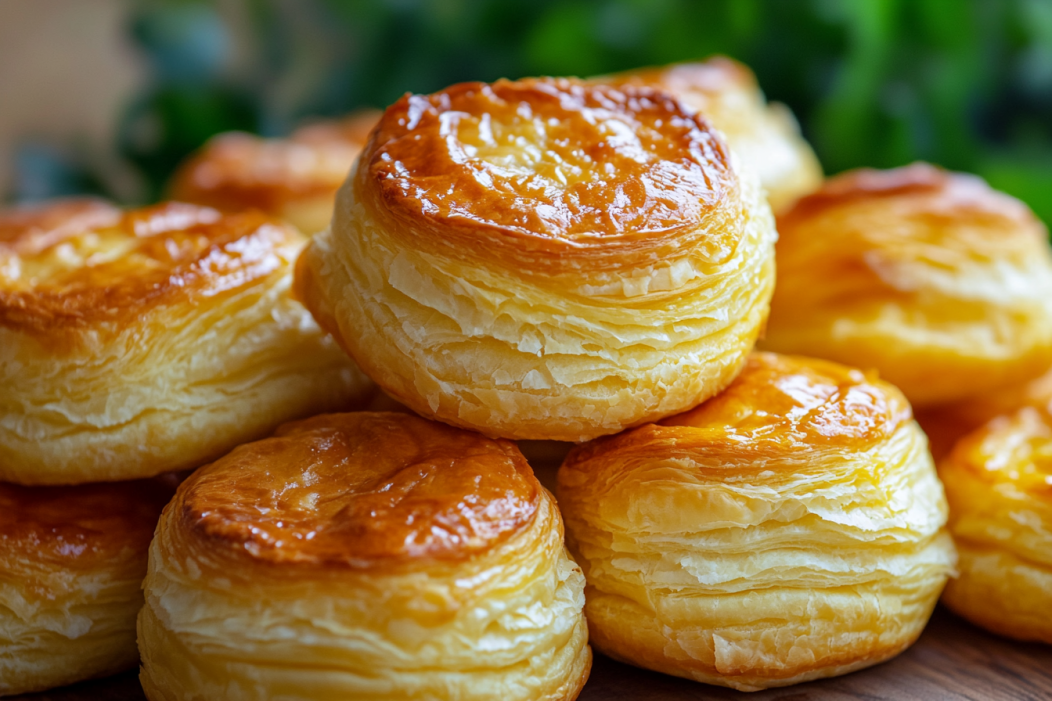
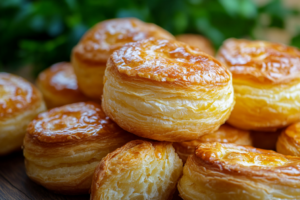
Get ready to fall in love with these Heavenly Honey Butter Nun’s Puffs. Imagine golden, puffed pastries that are crisp on the outside and melt-in-your-mouth tender on the inside, all kissed with buttery sweetness. These delightful puffs are an old-fashioned favorite with a modern twist, and they’re shockingly simple to make. The aroma alone—rich butter mingling with a hint of vanilla and honey—will have you floating off the kitchen floor. Whether you’re a seasoned baker or just starting out, this recipe is a game-changer.
Why You’ll Love Heavenly Honey Butter Nun’s Puffs
This isn’t just a recipe—it’s an experience. Whether you’re preparing a cozy family breakfast, impressing guests, or treating yourself to something special, these puffs fit the bill every time. Here’s why they’re a hit:
- Versatile: Ideal for breakfast, brunch, dessert, or a snack with tea. Whip them up on a lazy Sunday or surprise someone with warm puffs at sunrise.
- Budget-Friendly: Made with pantry staples, so no need for fancy ingredients or last-minute grocery runs.
- Quick and Easy: Watch them puff up effortlessly in the oven—no yeast or rising time needed.
- Customizable: Add almond extract, citrus zest, or a dusting of cinnamon sugar to make them uniquely yours.
- Crowd-Pleasing: Loved by kids and adults alike—these disappear fast, so consider doubling the batch!
Ingredients for Heavenly Honey Butter Nun’s Puffs
- Butter: Melted in the muffin tin, it gives the puffs their golden, caramelized base.
- All-Purpose Flour: Provides structure, turning the liquid mix into iconic puffy towers.
- Milk: Warmed to blend smoothly with the flour for a silky batter and tender interior.
- Eggs: The secret to the rise, binding and puffing the pastry to airy perfection.
- Sugar: Balances the richness and rounds out the flavors.
- Vanilla Extract: Adds warmth and depth, subtle yet essential.
- Honey: Brushed on top post-baking for a glossy, sweet finish.
How to Make Heavenly Honey Butter Nun’s Puffs
Step 1: Preheat Your Equipment
- Preheat your oven to 375°F. Place a muffin tin with a dab of butter in each cup into the oven to melt—this creates that irresistible crust.
Step 2: Combine Ingredients
- In a medium saucepan over medium heat, bring the remaining butter and milk just to a simmer. Add the flour all at once and stir until it pulls away from the sides of the pan into a ball.
Step 3: Cool and Mix
- Remove from heat and let the mixture cool for a couple of minutes. Add the eggs one at a time, beating well after each addition. The batter will look slippery and thick—that’s perfect. Stir in the sugar and vanilla.
Step 4: Prepare Your Cooking Vessel
- Carefully remove the hot muffin tin from the oven. Quickly spoon the batter into the buttered cups, filling each about 2/3 full.
Step 5: Cook to Perfection
- Bake for 30 minutes or until the puffs are tall, golden brown, and slightly crisp on the edges. Avoid opening the oven door while baking—they need consistent heat to rise properly.
Step 6: Finishing Touches
- While still warm, brush the tops with honey for a signature glossy finish. Let them cool slightly in the pan before transferring to a rack.
Step 7: Serve and Enjoy
- Serve warm and enjoy the buttery crisp shell giving way to a soft, custardy center. Perfect on their own or with a dollop of whipped cream or jam.
How to Serve Heavenly Honey Butter Nun’s Puffs
- With Fresh Fruit: Pair with berries or citrus segments for a bright contrast.
- Afternoon Tea Treat: Perfect with a cup of Earl Grey or chamomile for a fancy pause in your day.
- Brunch Platter: Nestle them between quiche slices, bacon, and fruit for a show-stealing brunch spread.
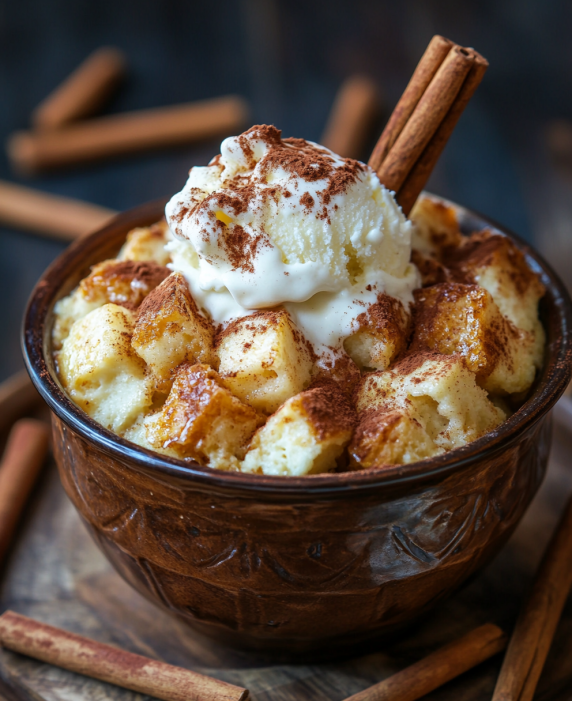
- Dessert Delight: Add a scoop of vanilla ice cream and caramel drizzle for a five-star dessert.
Additional Tips
- Don’t Overmix: Once the eggs are added, mix just until combined to prevent deflating the batter.
- Make Ahead: Prepare the batter a few hours in advance—store it covered in the fridge and stir before baking.
- Get Creative: Swap honey for maple syrup or sprinkle with cinnamon sugar before baking for a churro-style twist.
- Storage Tips: Store leftovers in an airtight container at room temp for 1 day. Reheat in the oven to crisp them up.
- Double the Batch: These go fast—make more if you’re feeding a crowd!
FAQ Section
Q1: Can I use almond milk instead of regular milk?
A1: Yes! Almond milk works well and adds a slightly nutty flavor.
Q2: Can I make these gluten-free?
A2: Absolutely. Use a 1:1 gluten-free flour blend. The texture will vary slightly but still puff nicely.
Q3: How should I store leftovers?
A3: Store in a container at room temperature for up to 1 day. For longer storage, refrigerate and reheat in a 300°F oven.
Q4: Can I freeze them?
A4: Yes. Freeze in a sealed container and reheat straight from frozen at 350°F for 10 minutes.
Q5: Do I have to brush with honey?
A5: Nope! Try maple syrup, apricot jam, or even a dusting of cinnamon sugar.
Q6: Can I add cheese or herbs?
A6: Definitely! For a savory twist, fold in shredded cheese or chopped chives.
Q7: Why didn’t mine puff?
A7: Ensure your muffin tin is hot before adding the batter, and don’t open the oven door while baking.
Q8: Can I make mini versions?
A8: Yes! Use a mini muffin tin and reduce baking time to around 18–20 minutes.
Q9: Are these sweet or savory?
A9: They’re lightly sweet but versatile enough for sweet or savory toppings.
Q10: What’s the best muffin tin to use?
A10: A metal nonstick muffin tin gives the crispiest results and helps with rise.
Conclusion
There you have it—Heavenly Honey Butter Nun’s Puffs, a recipe that feels both nostalgic and fresh, simple yet oh-so-satisfying. With their puffed perfection and warm, buttery flavor, they’re sure to become one of your go-to favorites. Whether you’re baking for brunch, a sweet snack, or just because you deserve a moment of joy, these puffs deliver every time. Now go preheat that oven—you’ve got magic to bake!